Back when I was attending San Jose State, one of my favorite workshops was the lighting workshop that alum Glenn Matsumura would hold once a year. In the journalism department, and without any photographic background, I was never exposed to any lighting specific classes (my own fault for not taking one through the art department). When the lighting workshop rolled around, it gave me a chance to play around with toys that were unfamiliar; grids, ring flashes, dynalite kits that weren’t broken…
One of my favorite tools to play with was the grid spot. Unfortunately, now that I am out of school, I no longer have the access to the kits there, and I can’t afford my own kit. Luckily, there are some great DIY photoblogs out there, and more than a few ways to build your own grid for your strobe.
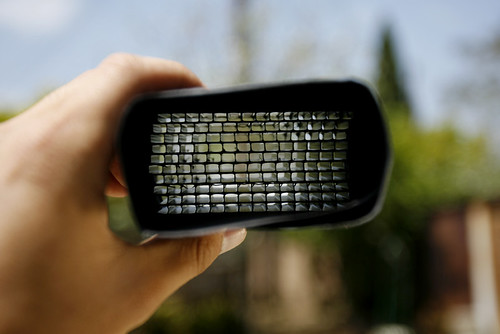
I ended up following a post on DIYPhotography.net which utilized corrugated plastic for the grid.
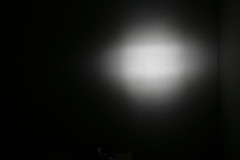
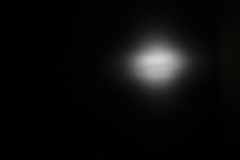
I ended up making two versions, one that was 3cm in length, and another that was 6cm in length. Though the light that was coming out of the grid was definitely more controlled, for some reason I could not achieve the nice circle shape seen in a test using a grid made from black straws. Instead, when shot against a wall, there was a definite rectangular pattern with half-circles coming out of each side. Below are the photos from both the 3 inch and 6 inch versions.
Other DIY grid tutorials:
cardboard
black straws
honeycomb grid
The honeycomb grid is actually an air straightener from a company called saxonpc. They have since realized that there is a market in the photo world for their product and sell grid kits.


You did not achieve the circulair shape, because you used rectangular straws in the grid. I made one using circulair straws and it gives a realy nice circle with a nice smooth fall off at the edges.